Setting up a Electrical Distribution in Revit
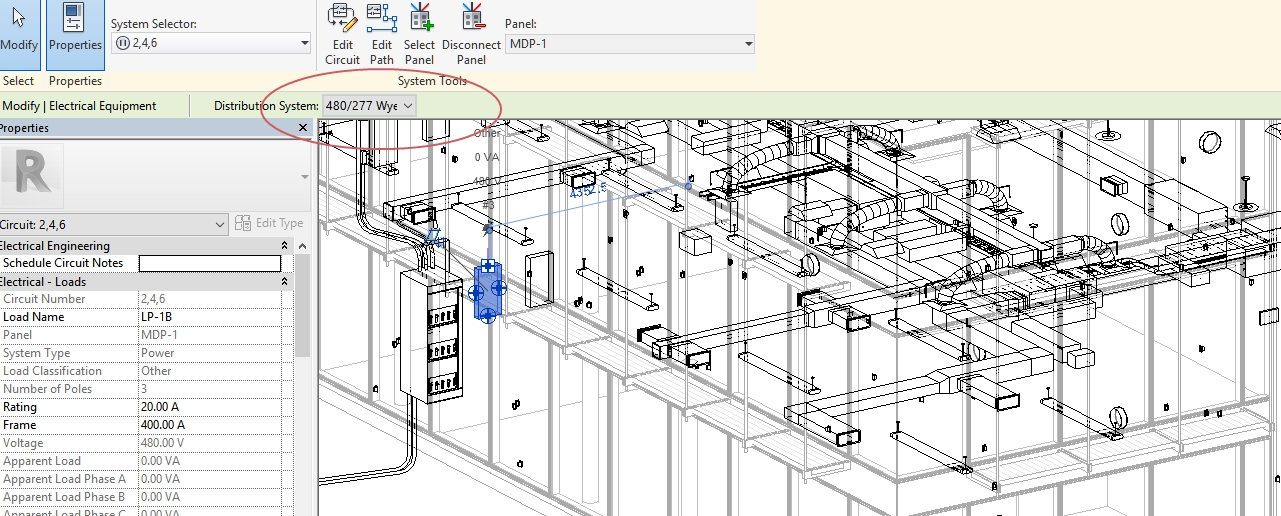
To successfully connect up the panel boards in Revit you need to ensure that your electrical distribution is set up correctly.
The electrical distribution settings can be found under Manage -> MEP Settings -> Electrical Settings
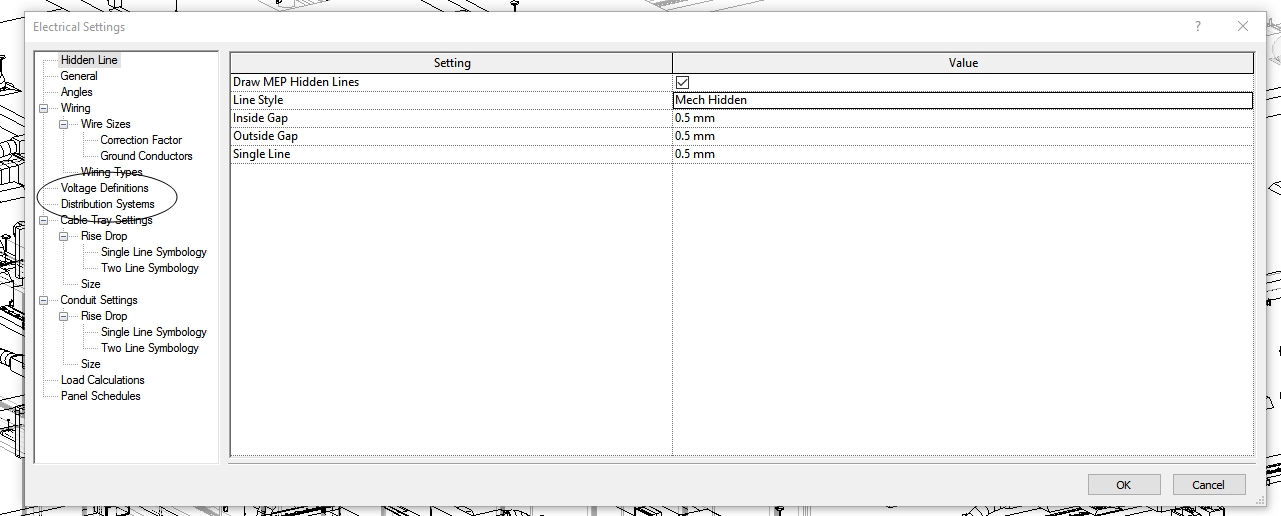
The first thing you need to do to set up your electrical distributions is to define the voltage is in the voltage to definitions part of the electrical settings

In this screen, you need to give your voltage definition a name its nominal value and a maximum and minimum value. Here you can assign all of the voltages that you require for your project.
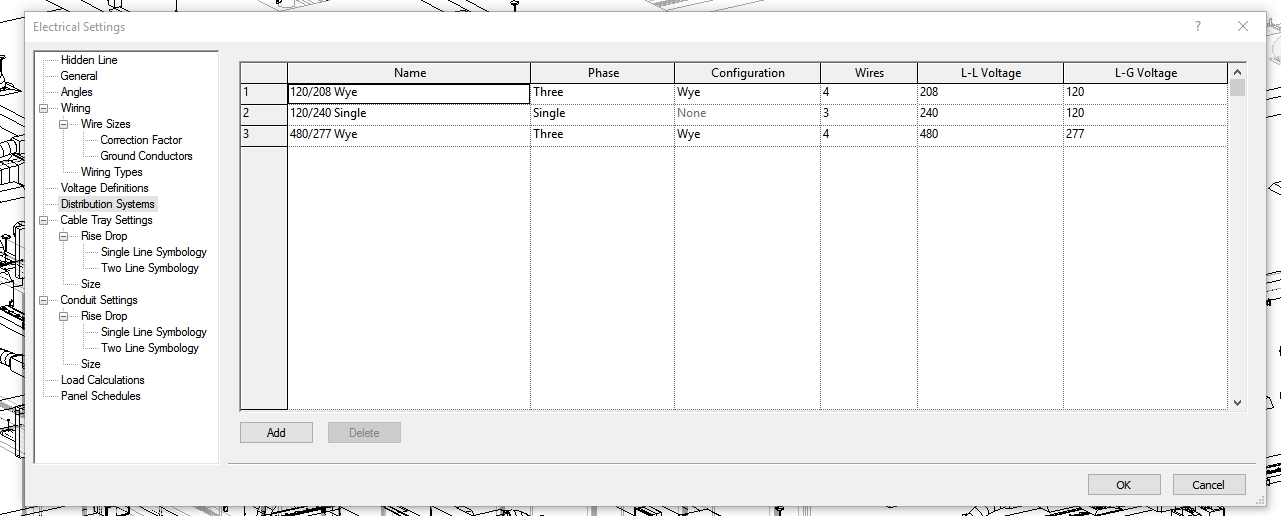
Next, you need to assign the distribution systems. For each distribution system, you need to assign a name, select the number of faces, the configuration number of wires and then add line to line and line to ground voltages. V line to line voltage and V line to ground voltage I selected from the voltages that were defined in the voltage definitions section.
Now that you have to find your distribution systems when you select a distribution board in your project you'll be able to select one of those distribution systems from the drop down at the top of the screen.